Macarons – Amigurumi #50

*This plush also appears on @pikainabag!

And with this blog, I complete my Lenten promise, however late it may be.

Sometimes, it is nice to let other people do things for you. Cooking for yourself is nice, but when you’re busy, it’s nice to just kick back and have someone bring you a pizza. Likewise, when you’re busy but still want to blog, it’s nice to have someone provide a pattern for you to follow.

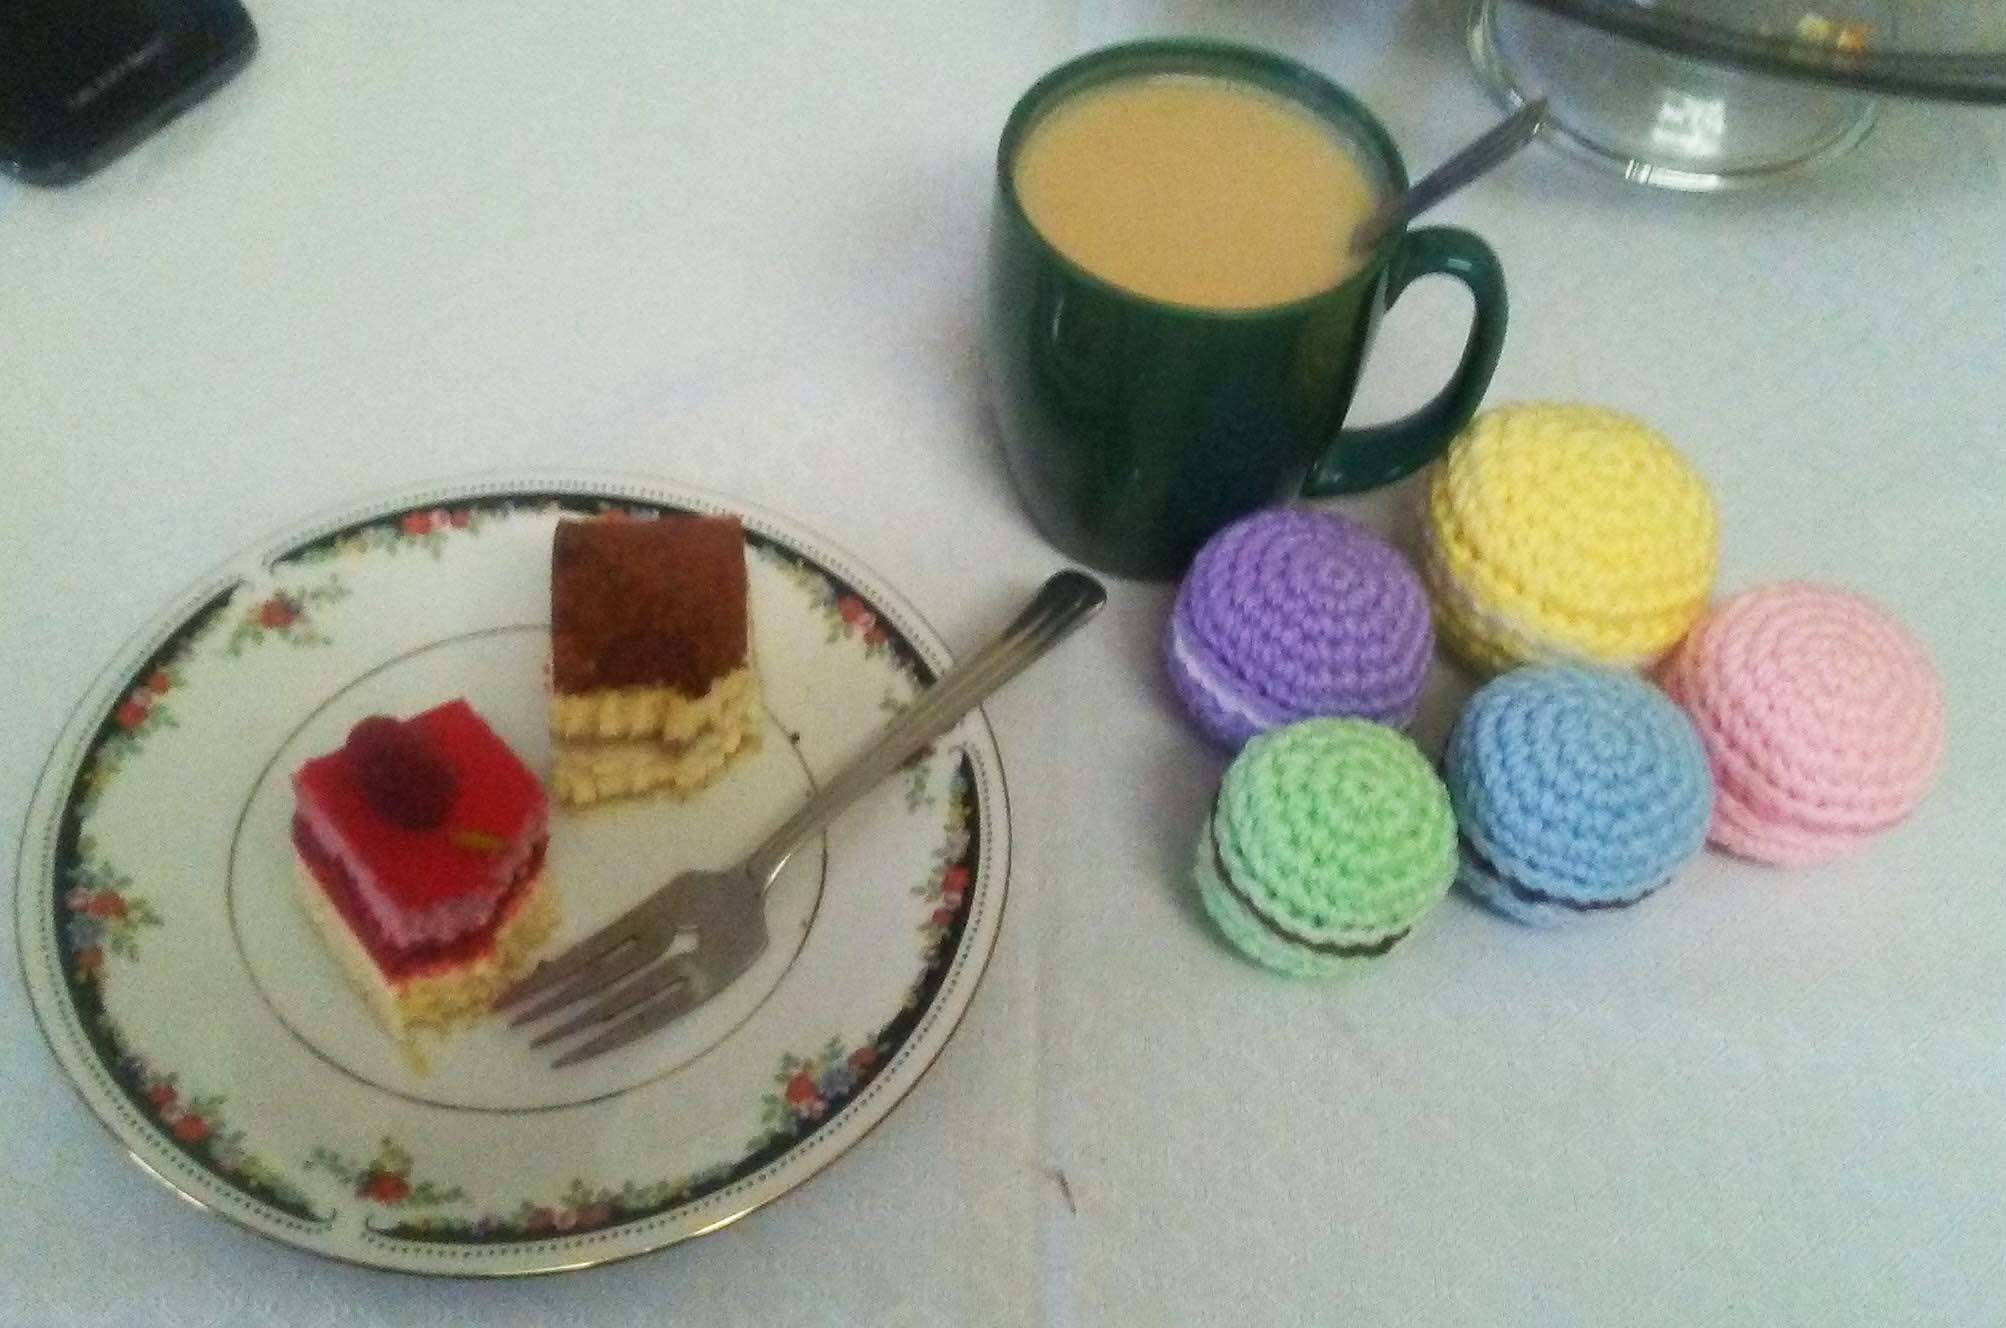
These macarons were made using the pattern from AmigurumiPianosound. (Click name to visit YouTube channel) I was in the mood for something sweet and simple to make in a single sitting, so as to have blog material that didn’t distract from the boat load of schoolwork. And then I ended up making several.

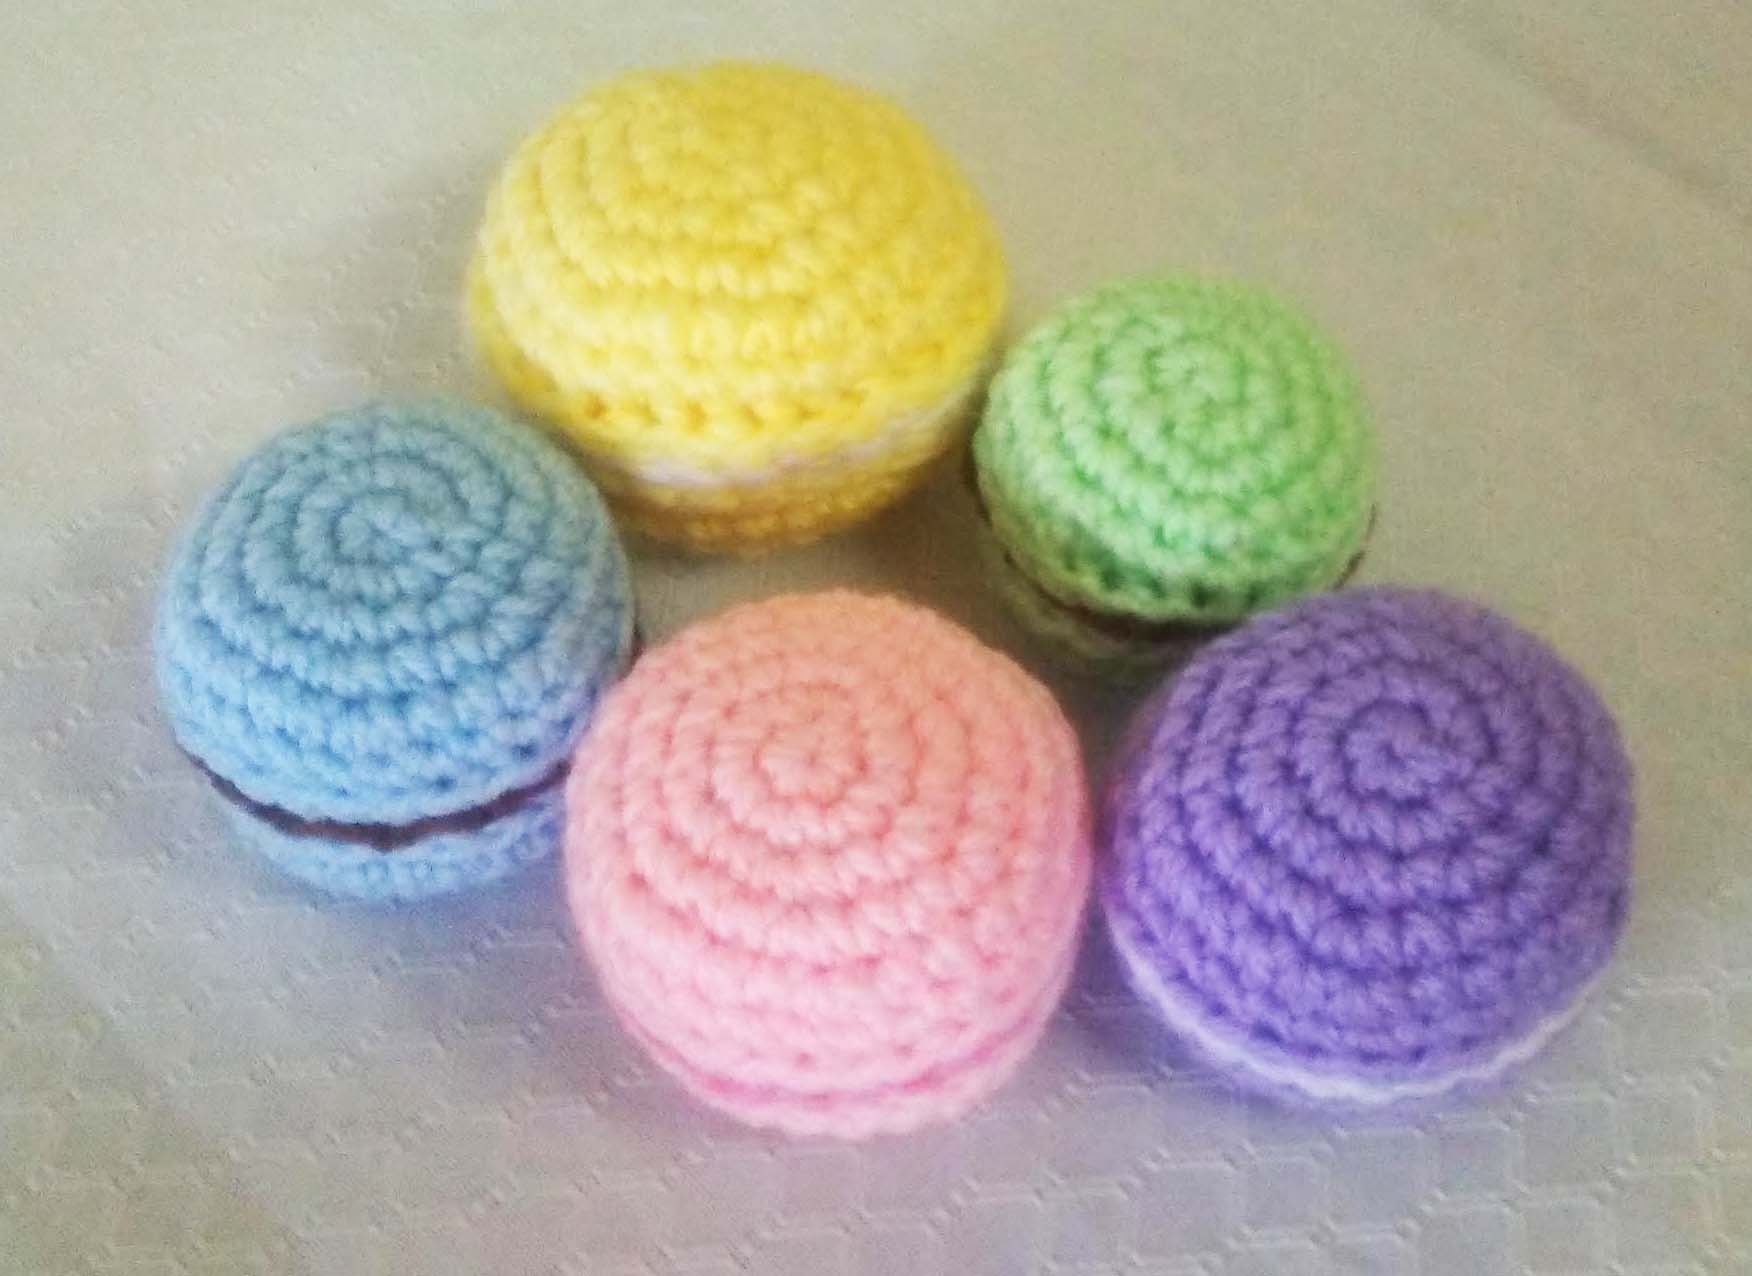
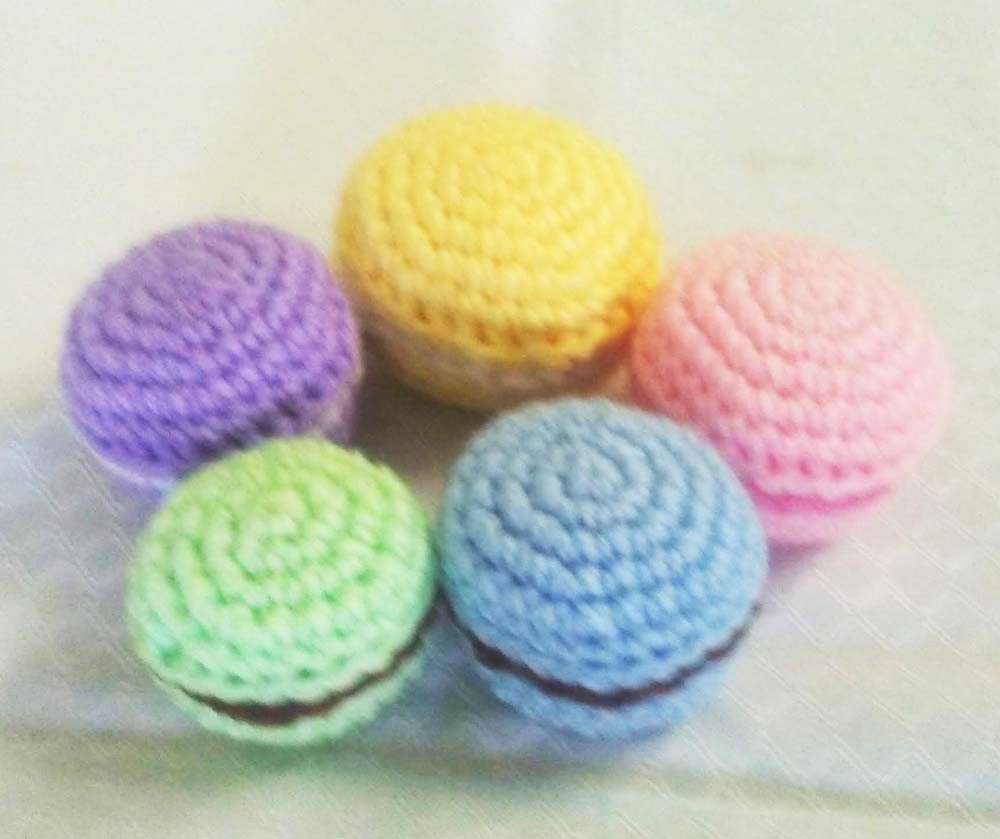
The above picture demonstrates how varied yarns and alterations can affect the outcome of the macaron’s appearance. The mint chocolate macaron (green) was created using thing green yarn, and I skipped the “*inc, sc 3, repeat from *” round. The result was okay, but a little too round, compared to an actual macaron. I followed the pattern exactly for the pink one, but the colour combination should have been inverted, to help the cream stand out. The yarn I used for the chocolate macaron is thinner, and although it looks normal in the photo, it is a bit too thin in real life.

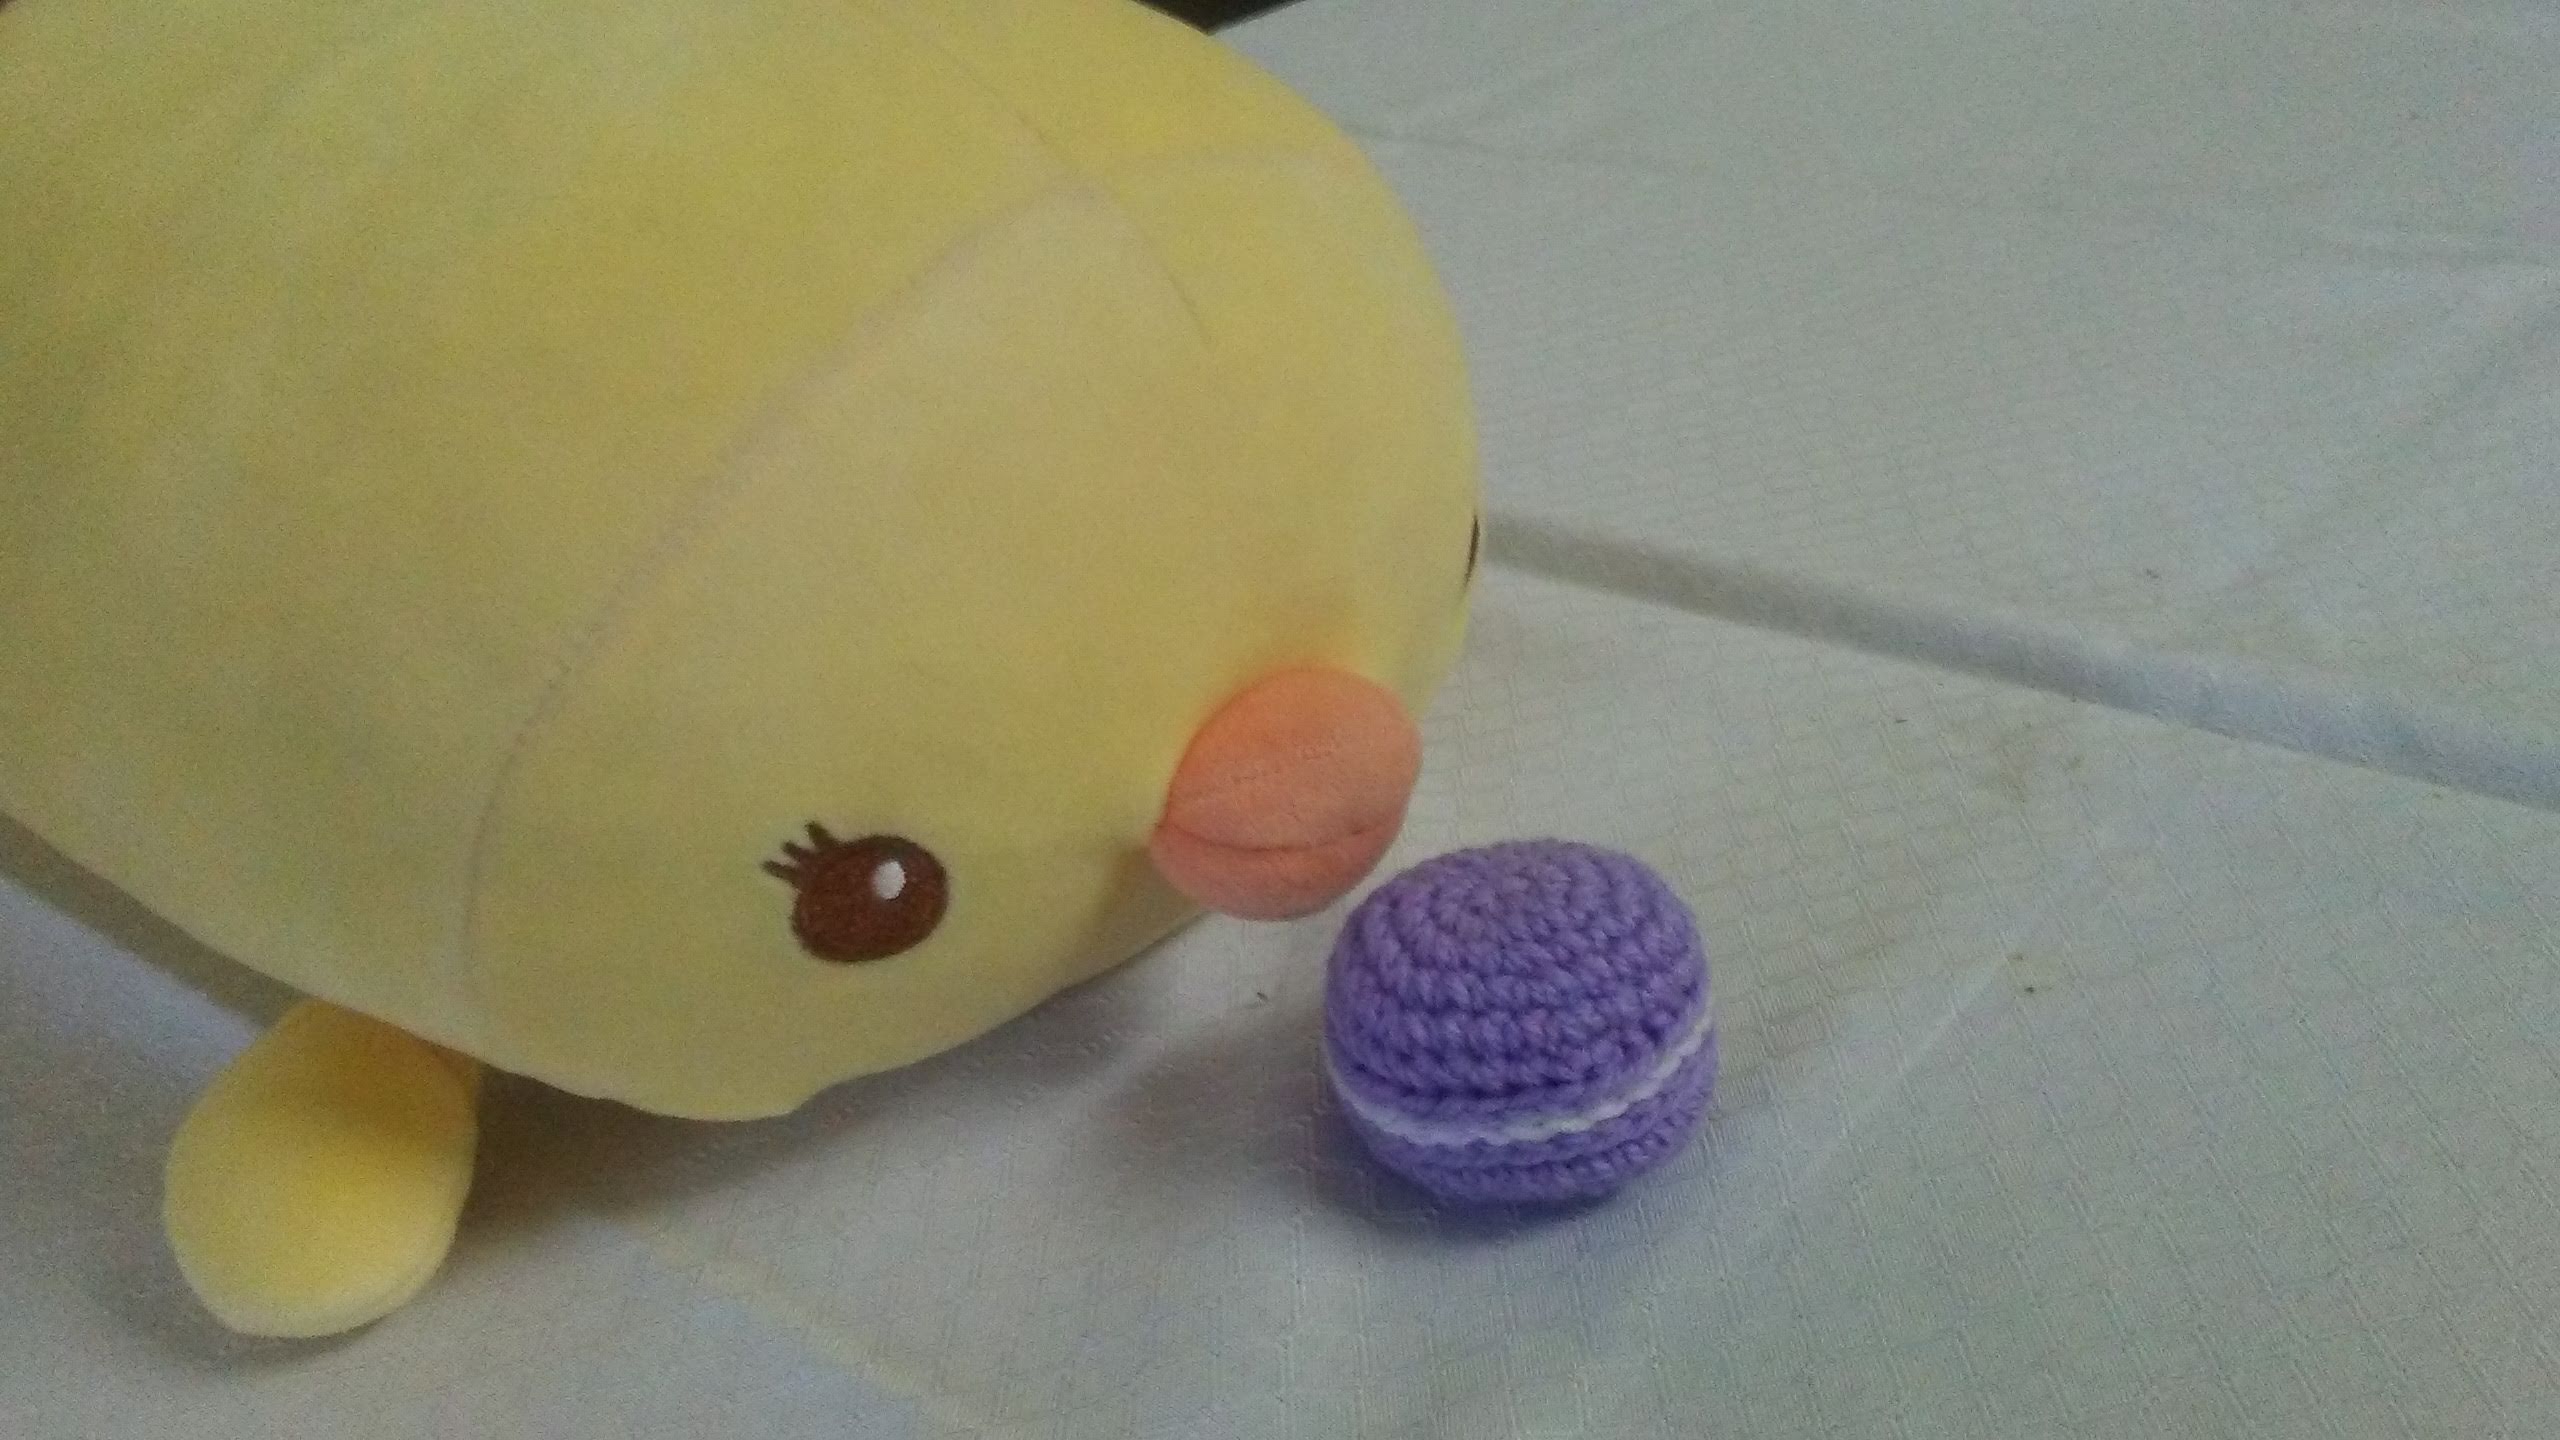
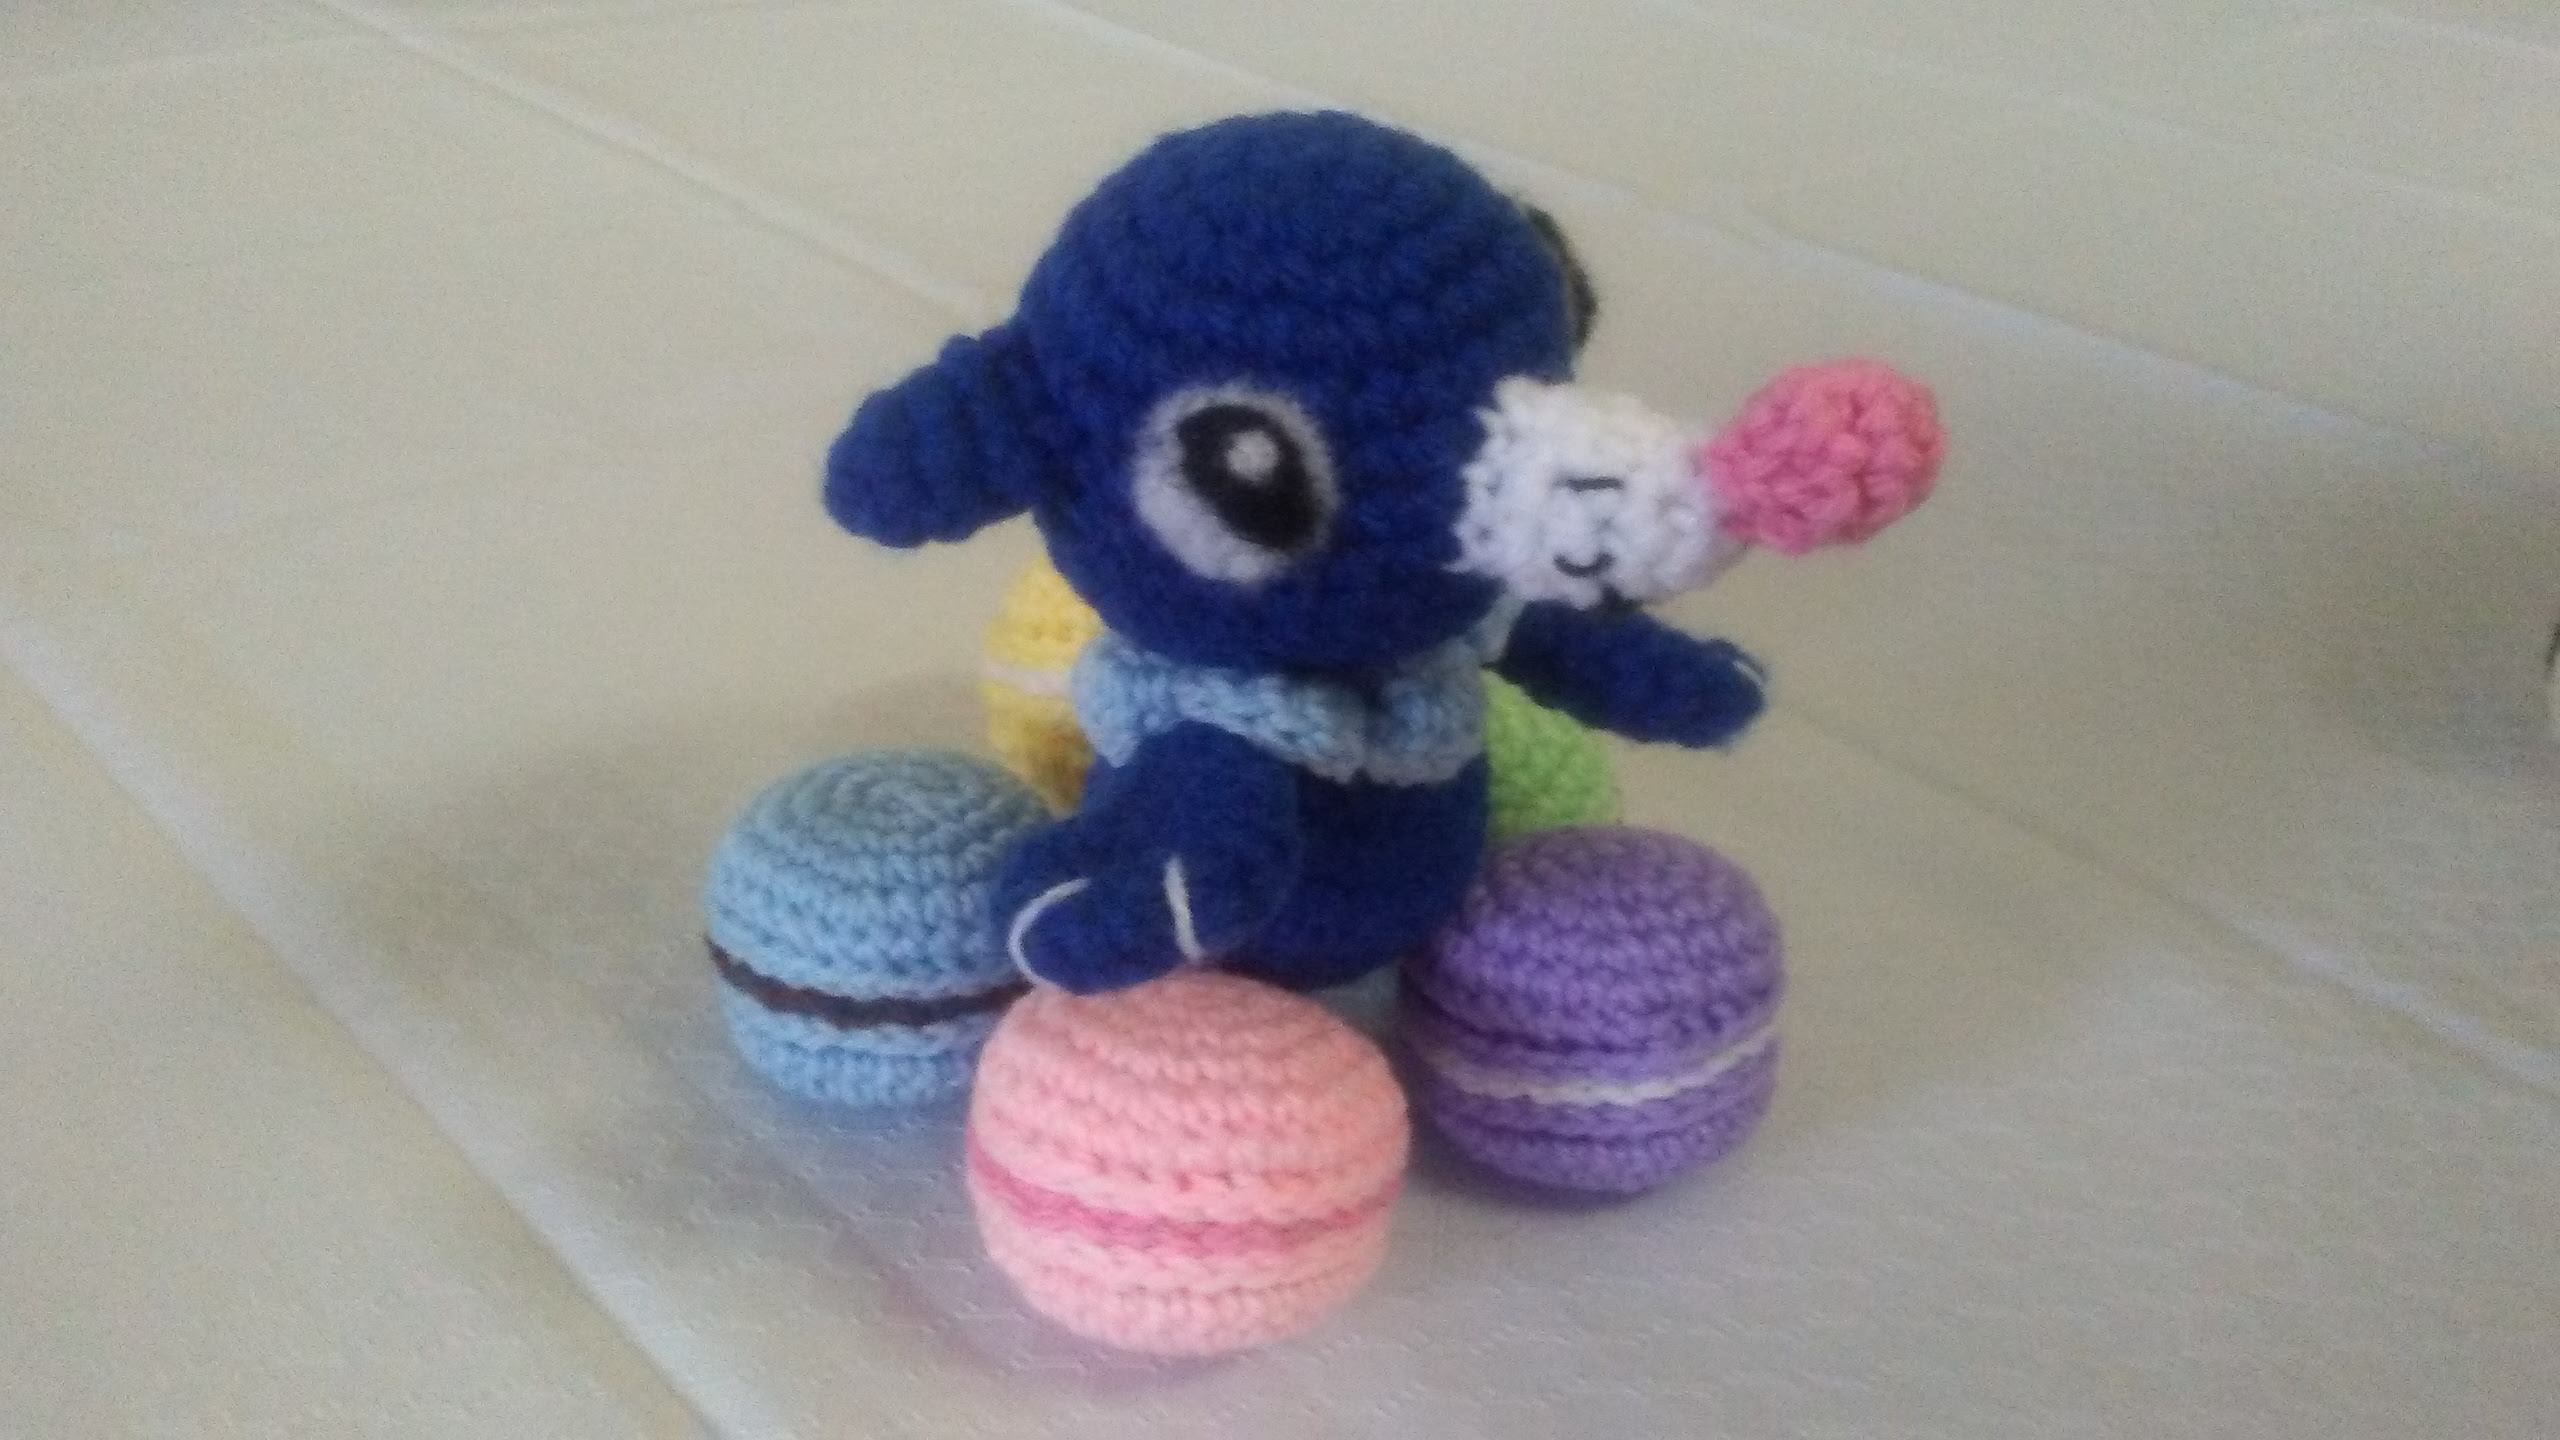
I like the purple and yellow macarons best. I gave the purple one to Shoonie as a belated birthday present. We promptly fed it to Little Feet, for his first birthday. Seeing as how macaron halves should have “little feet” once they are baked, it felt appropriate.

Feet not shown

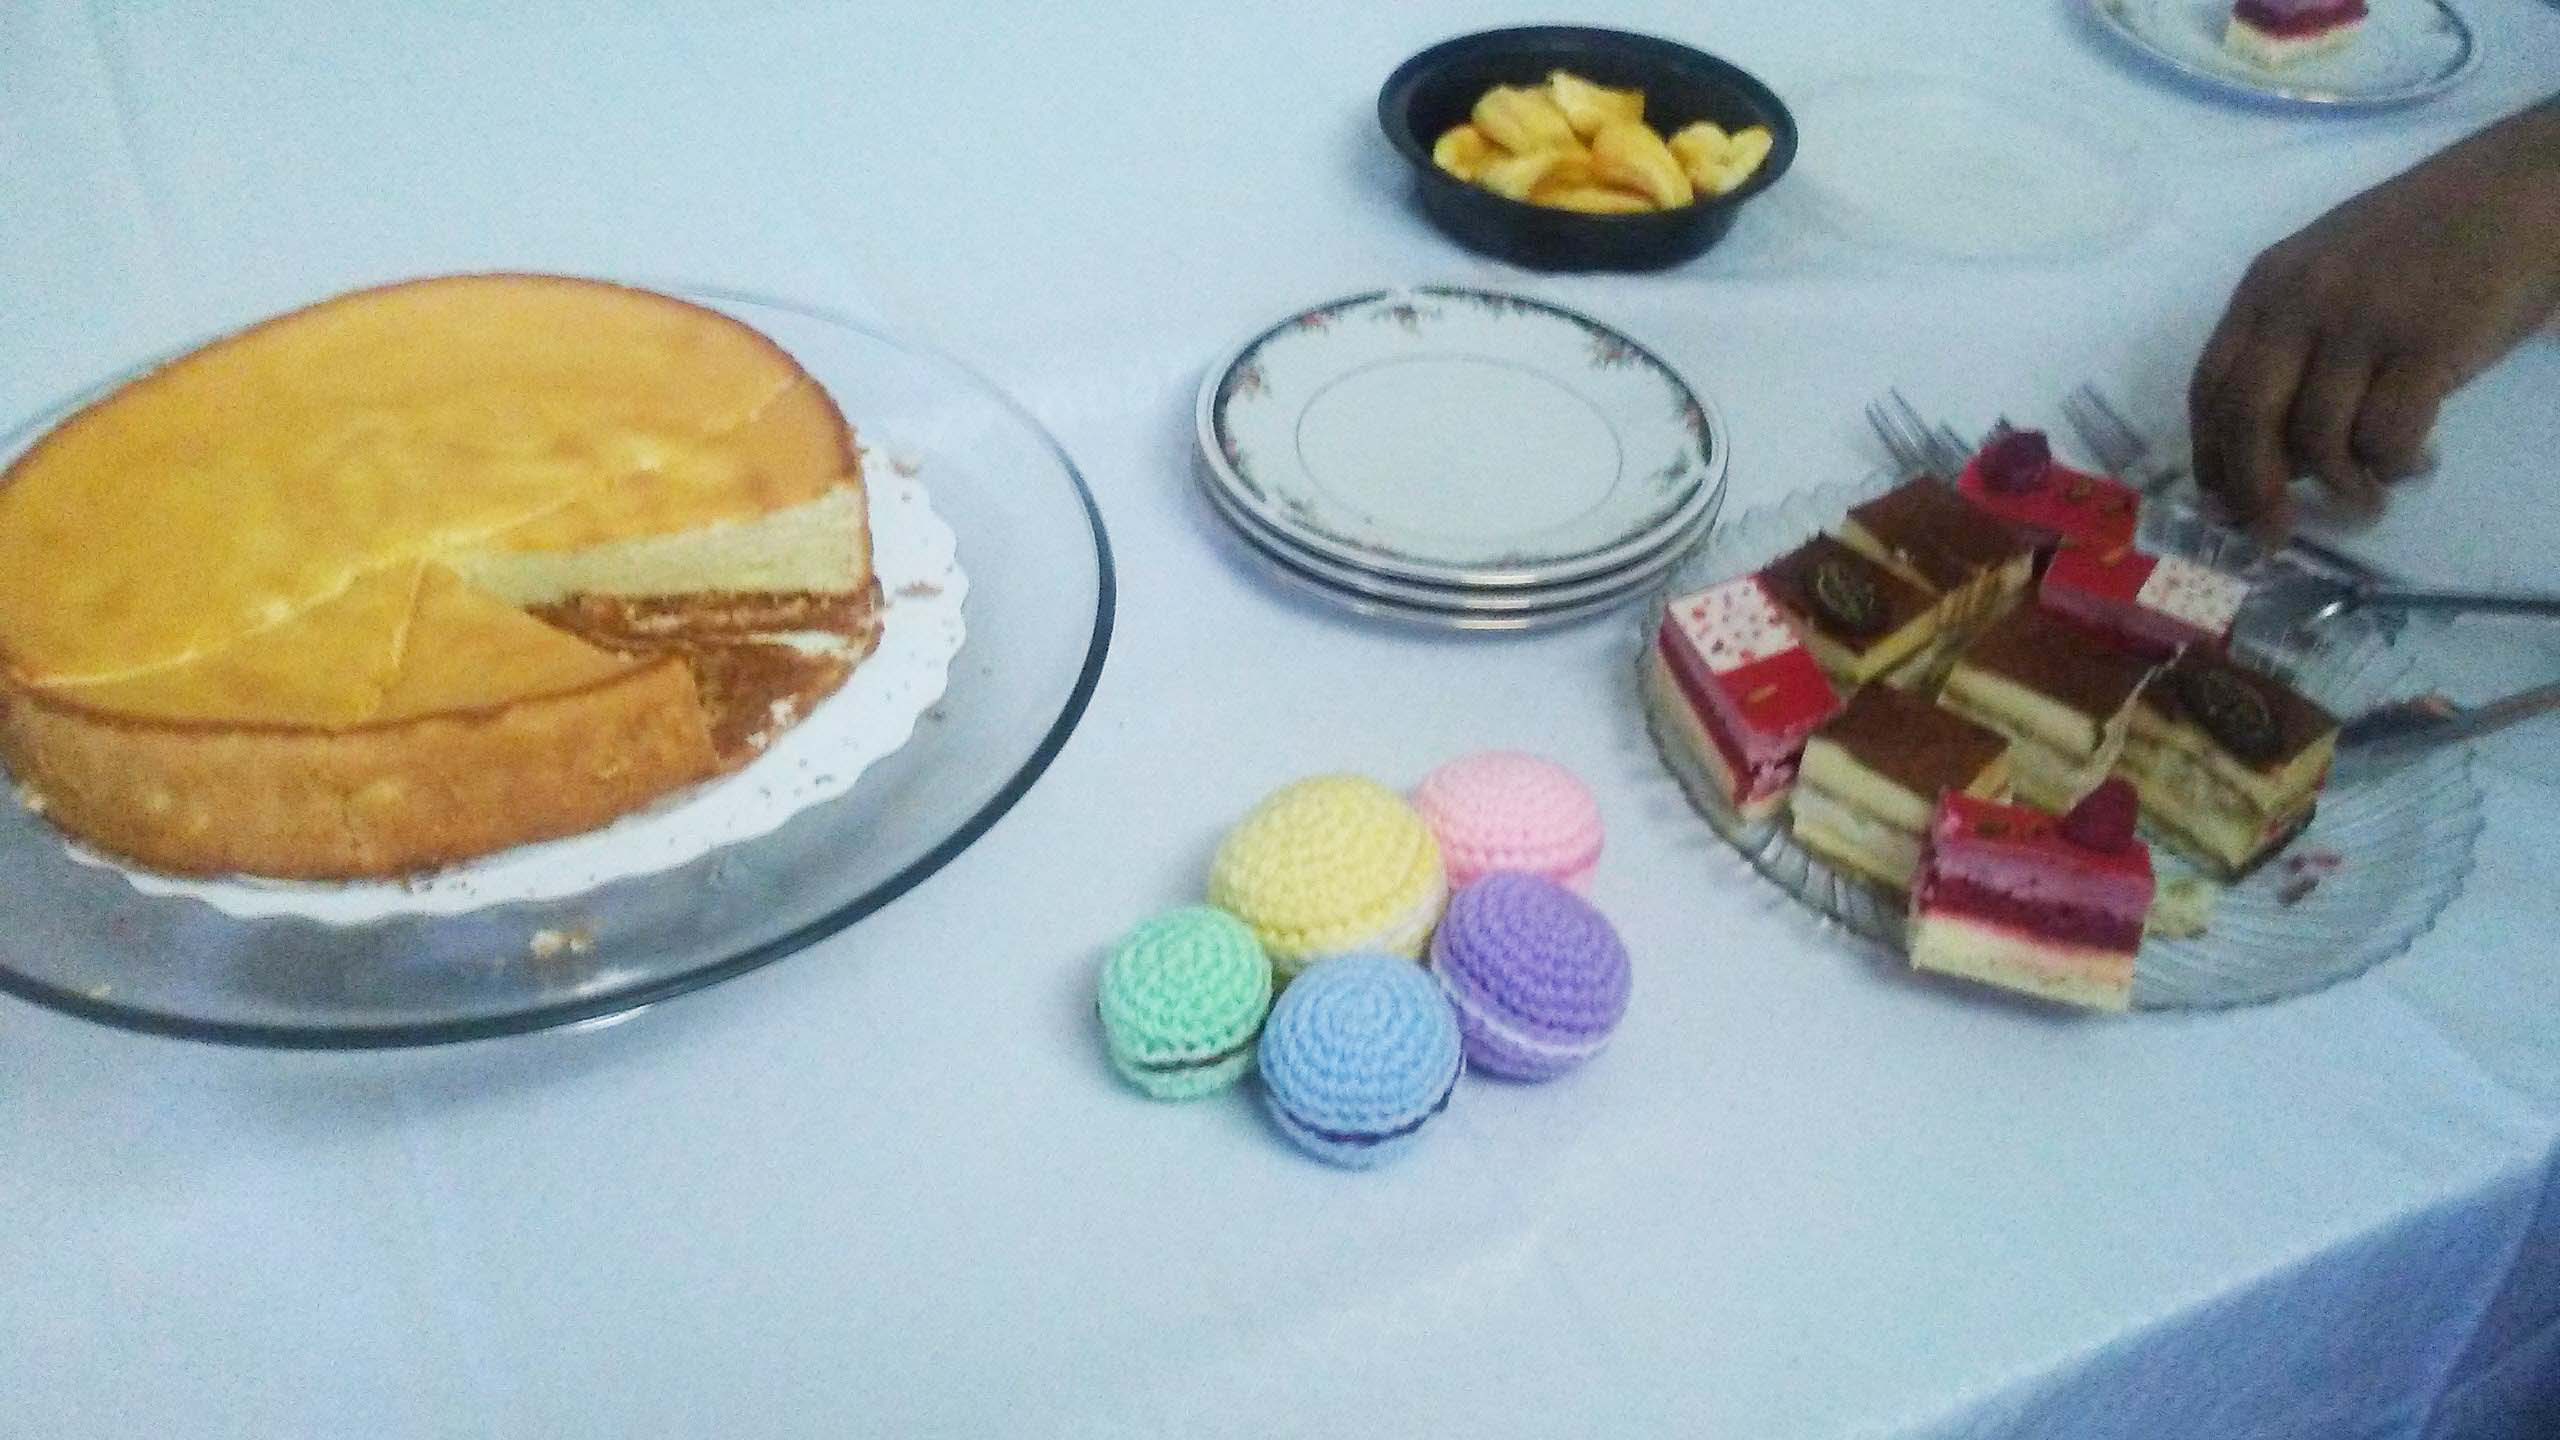
And she made delicious Easter desserts!

The best one was the Shoonie hand.
I take my coffee with milk and sugar. Fight me.

You might recognize the pink macaron from the Popplio post. Indeed, Popplio likes macarons. Or are they poffins? They can’t be malasadas… malasadas are fried, and remind me of mandazis. I heard that the new gen will take place in England. Maybe macaron-like Pokemon treats will make an appearance?

Haaaa… at long last, it feels like I can breathe again. There will be another blog this weekend, along with an announcement! Until then, let’s continue to rest, recover, and make the world plush

To make your own cute macaron plush, click here for pianosound’s video tutorial.

Which dessert should be next? Did you achieve your Lenten goals? How was your Easter? Comment below!

Pika, so happy~

Cookie Cat (Steven Universe) – Amigurumi #35

Okay, so it’s actually a felt-gurumi. But with the ami rut I’ve been in lately, this is still a suitable friend for your tummy, and super duper yummy!

DSC_0318

Well okay, I wouldn’t recommend eating this. If you want one that actually awakens your gem powers, you’ll have to go to Nerdy Nummies.

I don’t release knitting and crochet patterns, but I never said anything about felt patterns. ;3 Feet free to follow along with my somewhat-coherent instructions on how to make your own Cookie Cat plushie!


What I used:

DSC_02431 sheet each of dark brown, light pink, and white felt

Scissors

Sewing needle

Matching pink, white, and brown thread

Polyfill stuffing

Paper and pencil

*Optional: someone to Skype with while working


First, make your pattern. I folded the paper in half, and eyeballed a half-cookie cat shape on the fold. Cut out the shape, open it up, and use it to trace and cut out two ‘cookies’ on the brown felt.

DSC_0247DSC_0249

For the front piece, fold one of the cookies in half, and draw a circle for the eye. Pinch the piece in the center of the eye, and make a snip so your scissors can go through. Cut out the eye through both layers. Unfold everything, trimming as you go. You should have two eyes like this:

DSC_0251DSC_0253DSC_0254

For the strawberry ice cream, fold your pattern in half again, and use this to trace two pieces from the pink felt. Do the same for the vanilla ice cream, using white felt. Then, place all the pieces together, and trim off about 1 mm around the edges. This will make the cookie ‘hang’ over the edges of the ice cream, just like in the show.

To make the sides of the ice cream, I used a scrap of thread to measure the outer perimeter of the ice cream pieces. This takes me back to grade 3, where we learned to use string to measure the perimeter of irregular shapes. Simply align the thread along the side of the ice cream from point A to point B, (see image) and measure this length against a ruler. I’m quite proud of my fine motor skills lately; this perimeter measured exactly 15.5 cm! I added 0.5 mm for seam allowance, and decided I wanted the sandwich to be no more than 2 cm thick. (It would shrink while sewing) Therefore I cut a pink strip, and a white strip, that were 16 cm x 2 cm.

DSC_0263DSC_0264DSC_0268DSC_0269

Sew the strips onto their respective ice creams using their matching threads, and a blanket stitch. I find it was best to begin each stitch by inserting the needle into the strip, and sewing the needle up through the flat face. You should have two “pouches:” one strawberry, and one vanilla.

DSC_0270DSC_0271DSC_0272DSC_0273

DSC_0277Sew these pouches together using a hemming stitch. (At least, I think that’s what it’s called. Mine turned out a lot more visible than this…) Basically, you weave the needle under the fabric, on an angle, and pull up. This creates horizontal stitches that hold the two pieces together, while allowing them to remain flat. Do not sew all the way around! Remember, we need a hole to place the stuffing. Once you’ve added enough stuffing to help the plushie hold its shape, go ahead and sew it up.

DSC_0279.jpg

When you’re finished, it should look something like this.

Now, begin to assemble the Cookie Cat. Remember, strawberry goes under the right eye, and vanilla goes under the left eye. At this point, I realized that not only did I have the wrong coloured brown thread, but the cookies looked way too flat. And so I decided to cut two more identical cookies (one extra front, and one extra back) and layer them on top of the first cookies.

Sew the first cookie layers onto the ice cream using a… hm. I’m not sure what this stitch is called. It reminds me of a modified running stitch. You insert the needle from the top, through the cookie, and through the bottom of a stitch on the ice cream. Then, you re-insert the needle into the cookie only, from underneath. I’m not sure how to describe this… see the images below for an example.

Sigh. This is why I don’t post tutorials. (.-.)

Anyway, once you have your cookies secured, use a blanket stitch to sew the second layers to your cookies, and you’re finished!


DSC_0318.jpg

Final verdict:

It’s very time consuming to hand sew all the pieces together, but it’s totally worth it in the end. Cookie Cat is best served on a plate, along with a smiling popsicle. Even if it’s not yet warm enough outside, there’s never a wrong time to enjoy a delicious ice cream sandwich.

DSC_0324.jpg

What other felt-gurumis should we try? Should we try an amigurumi version next? Comment below!

Pika, so hungry~

Boot Cuffs – DIY #5

Happy New Year 2016! You may have read the blog posted on December 30, 2015. I posted a reply to that blog on Sunday, which you can read here.

It’s time to start the new year off right: with some much anticipated craft posts. Whatever your reason for lack of motivation, completing quick ‘n easy projects get the creative juices flowing again. Now that we finally have snow and winter chill, why not try making these boot cuffs?

IMG_20160106_121400

50% of girls on social media have a picture like this. 100% of those girls think it’s artsy. That being said, I call this one, “Waiting for You.”

Here is the tutorial I followed:

For this project, I used the now-discontinued Bernat BlackLites yarn in Cherry Chill. I also possess a ball of Cowboy, which I would like to use for longer cuffs.

Bernat BlackLites in Cherry Chill, left, and Cowboy.

Bernat BlackLites in Cherry Chill, left, and Cowboy.

If you already know how to knit, this project should be a breeze. Your fingers are the knitting needles!

The girl in the video cast onto her dominant hand, but I started by casting onto my non-dominant hand. I found this easier, because I could count the rows as if they were on regular knitting needles. The first row is the “right side,” while the second row is the “wrong side” in stocking stitch.

Regardless of the size of your calves, 20 rows should be enough to wrap around. Thanks to the wide stitch, you don’t need to make buttonholes! I made the buttons using a smaller crochet hook than the yarn’s recommended size. They measured about 3/4″ (2 cm) in diameter.

IMG_20160102_235136505IMG_20160102_235149024

boot socksFinal Verdict: My boots have never looked so stylish! And my calves are nice and warm, without having to wear baggy pants. I want to make more cuffs, using actual knitting needles next time.* I wonder if they could be worn long, like the ones on the right?

Humph. The yarn became frayed. No wonder it was discontinued. Still, I like the colour design of black mixed with red, white, and pink. Here’s to hoping the blue ones will look great, too!

I finished my first pair, the night before seeing Kitty and Bear. That almost rhymed.

The next few months will be quite a challenge. Not only will I be returning to school, but I will return to school AND work a part time job at the same time. It may not be so bad, though it means M and I will have less time to chat and hang out. But at least we will have time in between classes for lunch. This week, we went skating and ate chilli. For all the bad luck I’ve had so far this year, it’s reassuring to have a positive M at my side. M says I worry too much.

IMG_20160106_125611376

Staying warm, on and off the ice!

Top: Finger knitting, 8 sts cast on. Bottom: Size 11 needle, 16 sts cast on.

Finger knitting, 8 sts CO vs. Size 11 needle, 16 sts CO.

*After a bit of experimenting, I discovered that swapping to knitting needles may not be such a good idea. Finger knitting creates wide, open stitches, while size 11 needles (the size recommended on the yarn label) create tighter stitches. My fingers ended up creating stitches twice as wide as the needles!

You can design a needle-based pattern for long cuffs using this pattern. Simply multiply the rows you worked in finger knitting by 2. For example, the video tutorial showed 20 rows. 20 x 2 = 40 stitches cast on. From there, work until the cuffs are as long as you like. Make button holes as you see fit.

The adjustable stitches mean that the excess will stick out. Try adding a third button, beside the top button, to keep things in place.

And so ends the first official craft post of 2016! What other crafts and DIY would you like to see here? Have you tried making winter accessories for friends, or family, or yourself? What projects would you like to complete this year? Comment below!

Pika, so happy~


Candy Kit Review – Ice Cream

When I got the free birthday gift from Sephora, the cashier wrapped it up in this cute little bag. And I realized the bag was the perfect size to hold…

IMG_20150518_160418370


Kracie Poppin’ Cookin’ Ice Cream Parlor

Brand: Kracie

Price: $5.00 at T&T Food Market

Click for Tutorial

Click for RRCherryPie’s Tutorial

Now that summer is in full swing, let’s have some ice cream! In this kit, you get 2 ice cream flavour packets: 1 strawberry and 1 vanilla. You also get two ice cream cones, a waffle bowl, two unflavoured wafers, sprinkles, a piping bag, and a…..

SHOOOOOON!

SHOOOOOON!

The box has special perforations, so you can make holders for your ice cream creations. But until you punch the holes, the box can be…

hat

…a hat.

So let’s begin, shall we?

This is probably the most resourceful kit we’ve tried to date. Not only does the box make a cute stand, but the plastic wrapping comes with cut-out pieces you can use to decorate your cones. Now you can pretend you have a real ice cream shop!

IMG_20150518_160736609

Making the ice cream was easy…making

…putting the cream into the piping bag was not. From video demonstrations, I expected a small partition inside the bag, to keep the colours separate until it was time to pipe. We ended up winging the placement, squishing the cream into place. It was very messy. This is the best we could manage. Luckily, it didn’t look too bad once piped out.

IMG_20150518_164352868

We made two little ice cream cones. They look cute as is.

cones

The box showed some other options, including an ice cream sandwich. These required us to break the wafers on their corrugated lines. (One side had diagonal lines, the other had checkered lines) Shoony was a bit better at this than me.

crush


She made an ice cream sandwich…

IMG_20150518_164857973

and I made an ice cream boat.

IMG_20150518_165300563

As we were rearranging, we realized that water had fallen into one of the divets, making the bottom of a cone all soggy. Eww…

But that didn’t stop us from assembling this lovely display.

Finished!

Finished!


Overall Verdict

Difficulty: 8/10

Although this kit wasn’t as intensive as the cake kit, our general incompetence made it difficult to keep the creams separate. Not recommended if you’re anal about keeping colours separate. And watch out for accidental water drippage, or you’re gonna have a bad time with soggy cones.

Taste: 8/10

Very tasty! The vanilla bits too! The cones taste and feel like real cones, but the wafers were a bit stale.

Overall verdict: 8/10 would recommend, as long as you’re not derp.

Ice cream kit is very cute and fun to decorate. But again, you often end up following the box for “creative” designs. This kit came with cute heart-shaped sprinkles, and it’s a lot of fun if you like decorating cakes with frosting.

IMG_20150518_170907985

Have you tried this kit? What did you think? What other kits would you recommend? Comment below!

Pika, so happy~